Part 54: Leyte Gulf: November 9, 1944

We've made landings on Leyte, and so far the Japanese navy isn't interfering.
Allied Turn 6 (USA): November 9, 1944
Cloudy, Dry
Clearing out the marshy ground around Burauen causes us a small amount of trouble.

The northern end of the line beats up on some Japanese armor, and that opens up a lot of territory.

At the other extreme of the battle, we're up against a tight spot and some hardened defenses, but we're able to slowly clear the way.
Axis Turn 6 (Japan): November 9, 1944
Cloudy, Dry

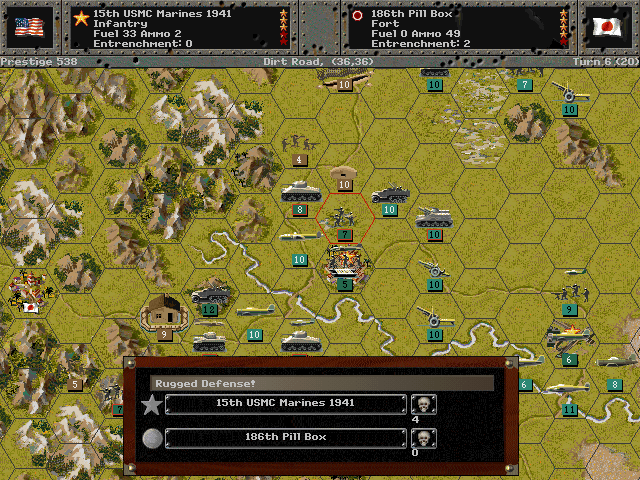
The roadblock up in the hills hits the M15.

One of our better artillery units gets bogged down in the marshland, and is forced to surrender when Japanese marines charge it.
Allied Turn 7 (USA): November 13, 1944
Cloudy, Dry
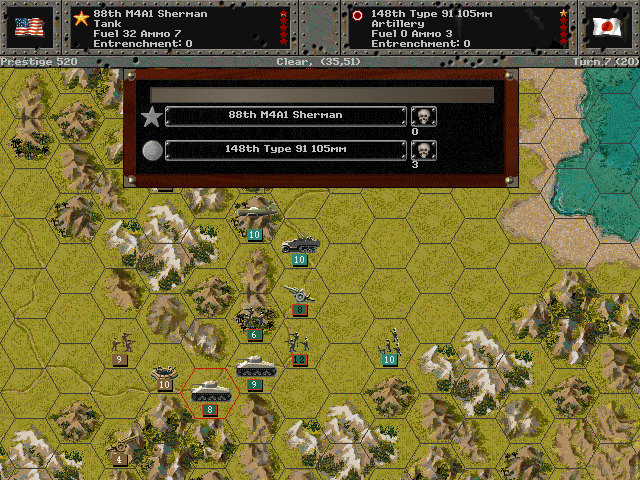
We break through the first part of the line in the south. This should hopefully draw some of the enemy forces in this direction, away from Ormoc.
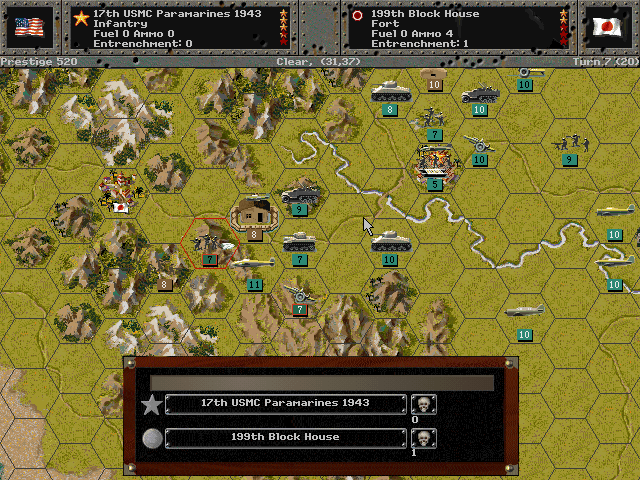
With progress on the road held up by out-of-fuel tanks, the paratroops try to fight their way out.
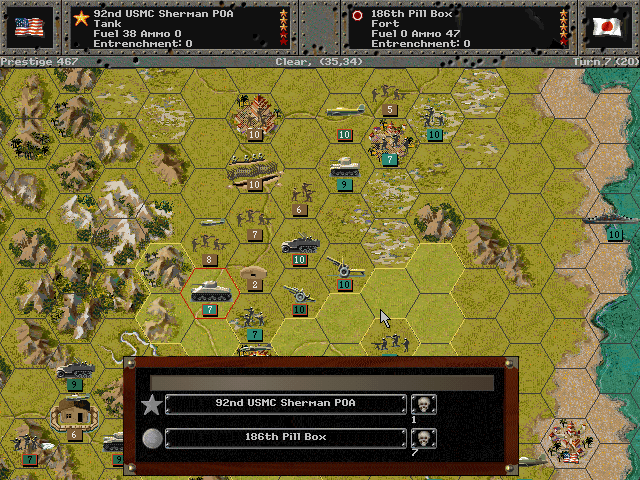
Slow progress is made out of Burauen.

The units we sent up the coast are now breaking into the interior.
Axis Turn 7 (Japan): November 13, 1944
Cloudy, Dry

Finally, the paratroops run out of ammo, and attacks from a stronger enemy infantry force them to surrender.
Allied Turn 8 (USA): November 17, 1944
Fair, Dry NIGHT
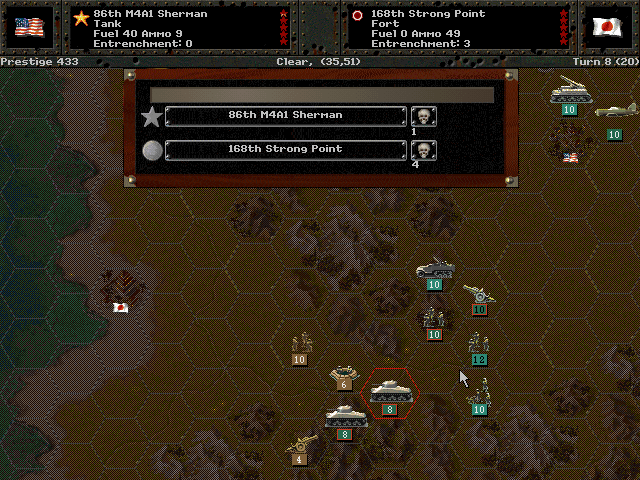
Our tanks keep up the pressure in the south.

We also isolate a unit of Japanese infantry.
Axis Turn 8 (Japan): November 17, 1944
Fair, Dry NIGHT
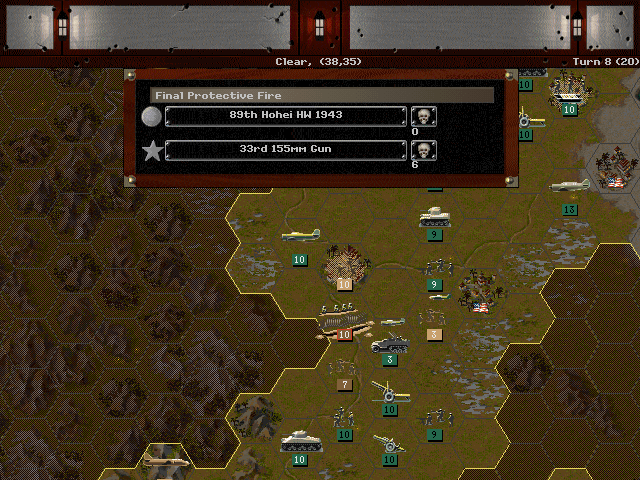
A sudden night attack from the Japanese dismantles our line near Burauen. First they strike at at the front-line anti-air, and then they knock out our artillery before any supporting units can respond.
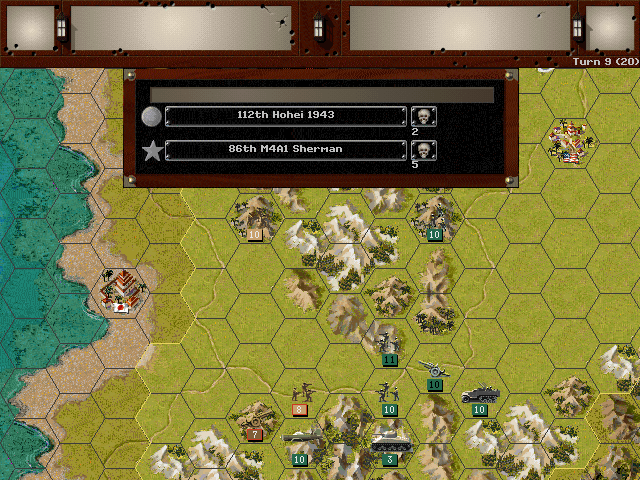
Allied Turn 9 (USA): November 21, 1944
Fair, Dry

Tacloban is not strongly defended, and our forces start to push their way toward the town.
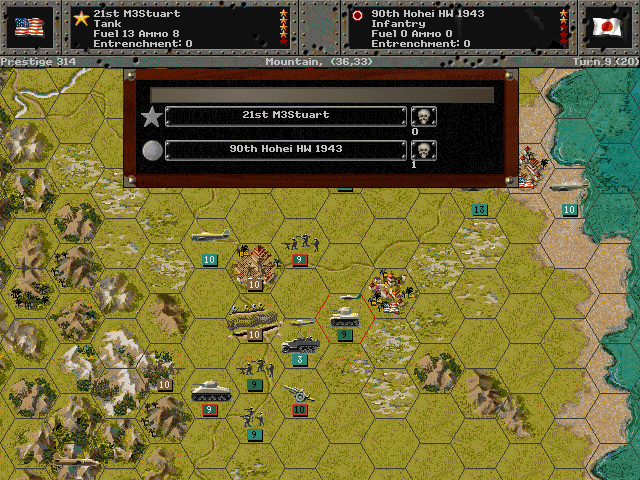
We're still trying to recover in order to clear the field works north of Burauen.
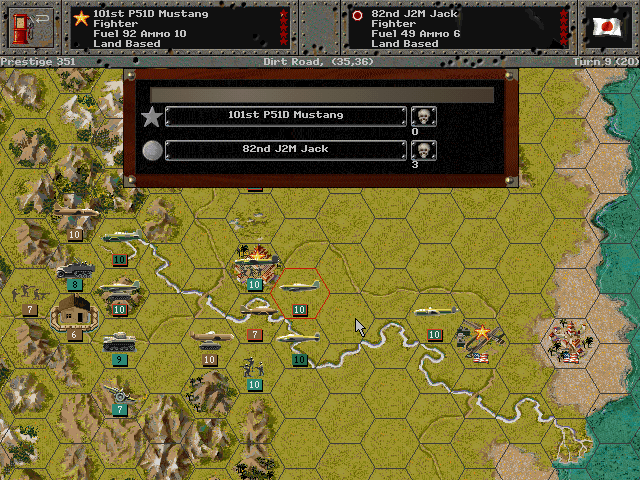
Some more Japanese fighters appeared, but we take them out fairly easily.

Our goal of getting over the road to Ormoc early has failed. We're only just about to clear the roadblock.

The southern force has nearly cleared its way; many of our forces here are now being pulled to the north to assist a bigger push over to Ormoc.
Axis Turn 9 (Japan): November 21, 1944
Fair, Dry
The Japanese fight back in the south.

The Burauen force is still having trouble.
Allied Turn 10 (USA): November 25, 1944
Fair, Dry
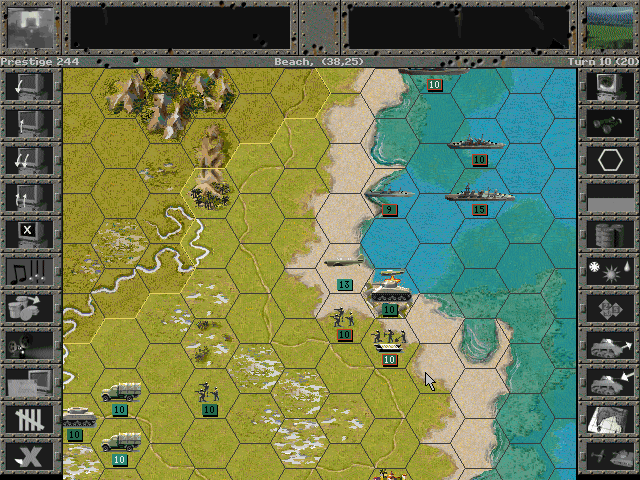
Tacloban surrenders after a brief assault.

One side of the road to Ormoc is finally cleared.
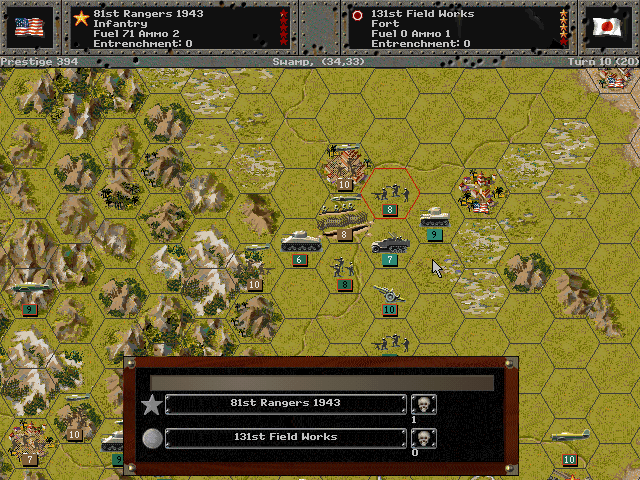
Our first determined assault on the field works at Dagami fails.

The southern group slows its advance; we can hold here but want to make sure the enemy doesn't disengage to defend against us in the north.
Axis Turn 10 (Japan): November 25, 1944
Fair, Dry

The enemy moves out and traps our AA unit, forcing us to take action in the south.

Constant fighting is wearing out the Japanese just as much as our forces.
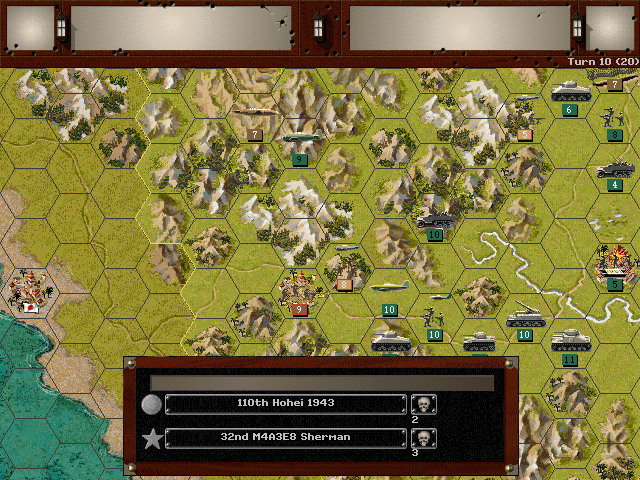
Infantry assaults slow down our tanks coming up through the hills.

Unit Spotlight
M4A3 (105)
PG Name: Sherman 105 Type: Tank
Effective Date: 6/44
Value:33 Cost:396 Spot:2 Move:6 MM:Track Trans:Naval Fuel: 45
Init:10 SA:12 HA:17 AA:[2] NA:1 GD:15 AD:3 CD:2 TT:Hard Ammo:11
In addition to the 75mm and 76mm guns, the M4A3 could also carry a powerful 105mm howitzer in the turret. This was a variant used to punch through fortifications and as a close support gun.
In-game analysis: While there's no denying that this is powerful, it kind of feels like overkill in most situations for this theater. Despite its offensive advantages, it does cost more and isn't as good against infantry. I'd really rather stick with the base M4A3.
Gato-class/Balao-class Submarine (>100 built)
PG Name: Gato / Improved Gato Type:Submarine
Effective Date: 9/41 / 5/43
Value:12/14 Cost:144/168 Spot:3 Move:4 MM:Coastal/Sub Fuel: 136
Init:3 Range:2 SA:0 HA:0 AA:[1]/[2] NA:15 DA:0 GD:8/10 AD:4 TD:8 DD:10/12 TT:N/A Ammo:24
Special: Radar
Design of the Gato class was underway as war broke out in Europe. The Gato was a slight improvement over the Tambor, and they were produced at such a rate that they became the primary submarine for the remainder of the war and even for some time into the Cold War. They improved survivability with better protection for the engine room, and also were able to go deeper than any previous fleet subs. The improved Balao class had a stronger hull and was rated for a depth of 90m. Throughout the war the deck armament was increased as well, as the American subs were proving to be highly effective against the Japanese merchant marine.
In-game Analysis: This is probably the best submarine in the game. It's certainly the best value and the best one available in the Pacific, even for the base model. The attack power is excellent, and it's able to last a bit longer if any hits actually land against it. Radar means it can sneak around at night to locate enemy ships. The Improved version is always preferable as it's not much more cost for some very good extra defensive strength.
Boeing B-17 Flying Fortress
PG Name: B17F/B17G Flying Fort Type:Level Bomber
Effective Date: 6/42 / 7/43
Value:43/50 Cost:516/600 Spot:2 Move:8 MM:Air Fuel: 222
Init:5 SA:1 HA:4 Size:40/50 AA:[14] NA:7 GD:18 AD:14 TT:No Ammo:10
The B-17 is the most famous American bomber of the war. It was another design that remained reliable from the start of the war to the end; the B-17G with the added chin turret is the iconic version. While actually not all that reliable for bombing except against stationary targets, and not terribly maneuverable when attacked, the ability of the plane to sometimes take an extraordinary amount of damage and still return home is the stuff of legends. It boasted an impressive array of guns to deal with threats from all directions. Although put into an unusual role for naval attack during the Battle of Midway, the B-17 wasn't actually in use in the Pacific after around 1943 (and the B-17G did not get sent there), as it had an inferior range to the other bombers available to the USAAC.
In-game Analysis: The top of the line in a level bomber for most of the war. This outclasses every other country's bombers in the size category. It's very tough to kill from the ground, and also not something most fighters want to deal with either. It's a bit less dominant in this theater given the likelihood of naval engagements, but on land it's still the best way to eliminate all of the enemy's supplies and disrupt their ability to fight before the ground troops even touch them.